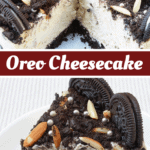
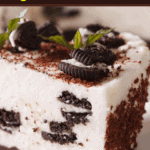
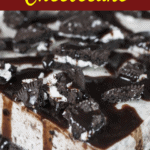
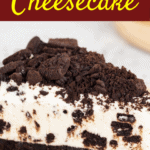
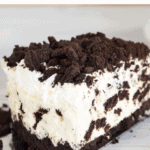
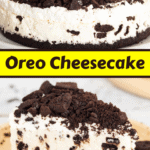
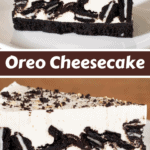
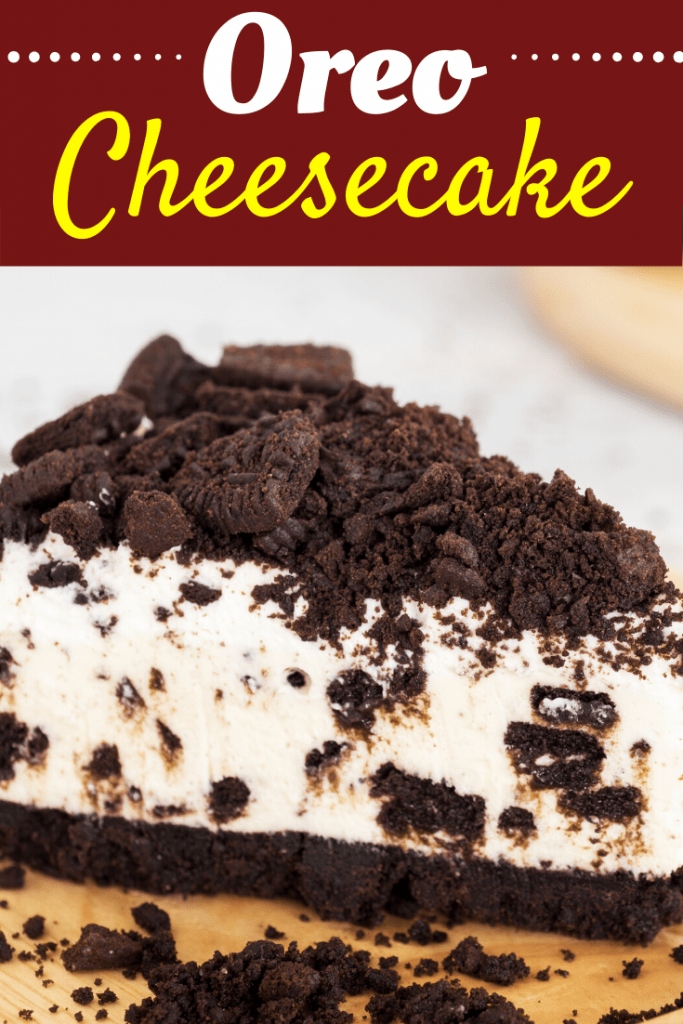
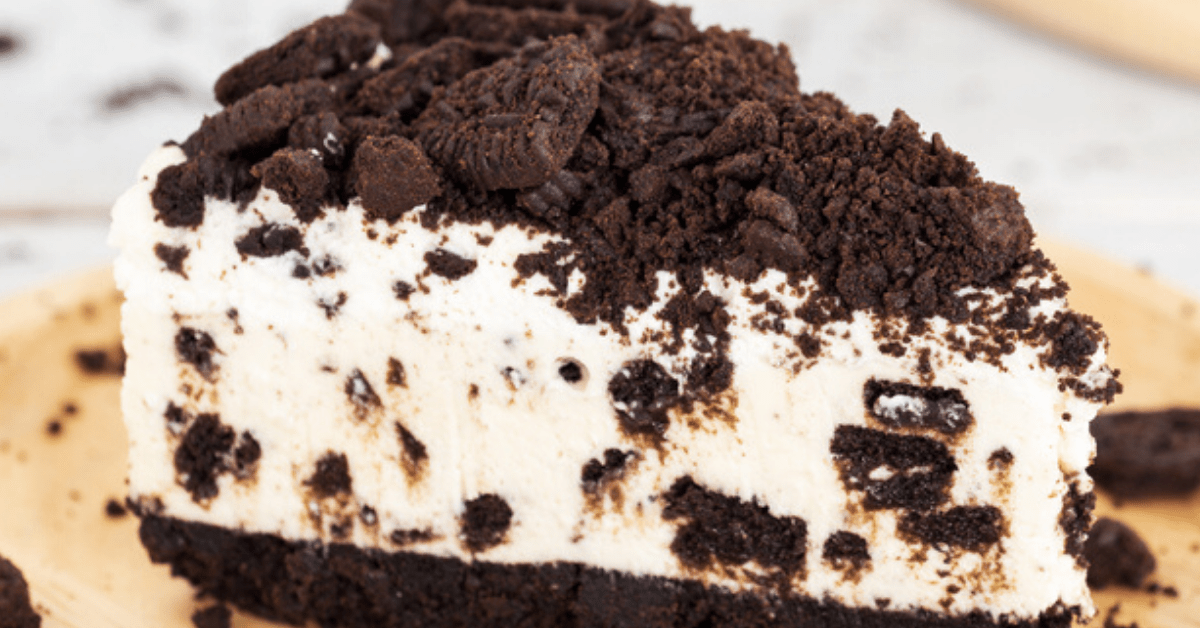
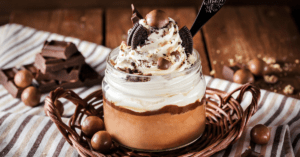
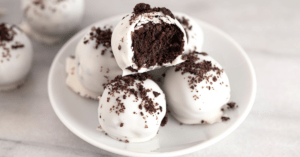
No oven needed. Perfect for any occasion. And gone within a few hours. Best of all, each bite is loaded with chunks of Oreo.
How to Make No Bake Oreo Cheesecake
- First we’ll prepare the Oreo cookies. Place 15 cookies in a gallon-size Ziploc bag. Use a rolling pin to smash the cookies. But don’t go too crazy. We still want some nice chunks in there. This will go into the cheesecake filling. Set aside. The remaining cookies will be placed in a food processor to create the crust. Mix until cookies are finely crushed.
- Now let’s make the crust. Here we’re using finely crushed Oreo cookie crumbs and melted butter. The melted butter is the glue that holds the crust together. Without the butter, your crust would crumble. Place the remaining cookies in a food processor. Mix until cookies are finely crushed. This will become the base of your cheesecake.
- In a bowl, mix together the butter and finely crushed cookies. Place the mixture into the bottom of a 9-inch spring-form pan. Press them out evenly to form the crust. I also recommend spraying your pan with non-stick cooking spray or lining with parchment paper to make it easier to remove the cake. Refrigerate.
- Now it’s time for the filling. Combine the cream cheese, sugar and vanilla. Beat together until smooth. You can use an electric mixer or a hand mixer. Allow the cream cheese to soften before mixing the cheesecake filling. This ensures that your batter comes out nice, creamy and smooth.
- Stir in the whipped topping and chopped cookies. Take the crust out of the refrigerator. Pour the batter over the crust and spread it out evenly. Cover. Place cheesecake in the refrigerator to chill for at least 4 hours. Even better if you can let it set overnight.
- Enjoy!
Tips & Tricks
Prepare your cheesecake the day before you plan to serve it. I recommend refrigerating overnight for best results.Buy an extra bag of cookies. This allows you to sprinkle bits of Oreo crumbs on top. If you’re like me, the more Oreo cookies the better! You can also drizzle a little chocolate sauce on top.I often get asked whether or not you should remove the creamy filling before creating the crust. Do NOT remove the white filling. That’s the best part 🙂Make sure the cold ingredients are at room temperature before you start mixing the filling. To do this you can simply set them on a counter top until they soften. You can also use freshly whipped cream instead of whipped topping if you like. Simply beat together 1 1/2 cups heavy whipping cream. 1 tsp vanilla extract and sugar to taste.
Looking For More No-Bake Recipes?
No-Bake CookiesNo-Bake Peanut Butter PiePhiladelphia No-Bake CheesecakeMason Jar Desserts Click on a star to rate it!
Average rating 4.9 / 5. Vote count: 33 No votes so far! Be the first to rate this post.
Share on social media: Let us improve this post!
